


|
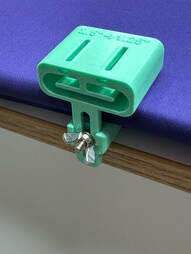
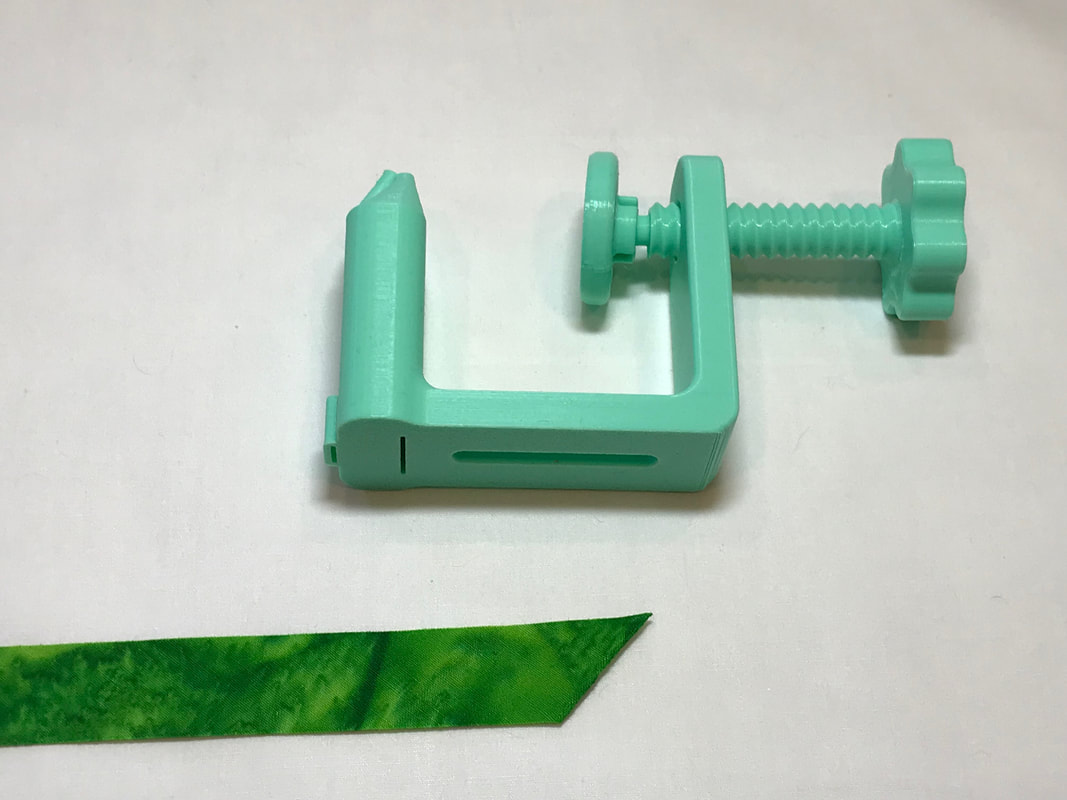
Bias Clamp
Easily make your own bias binding or sashing to perfectly match your project. You can even add fusible web tape to make your binding fusible! The Bias Clamp fits onto the side of your ironing board with a wing nut that is easily adjusted with your hands--no tools required. |
|
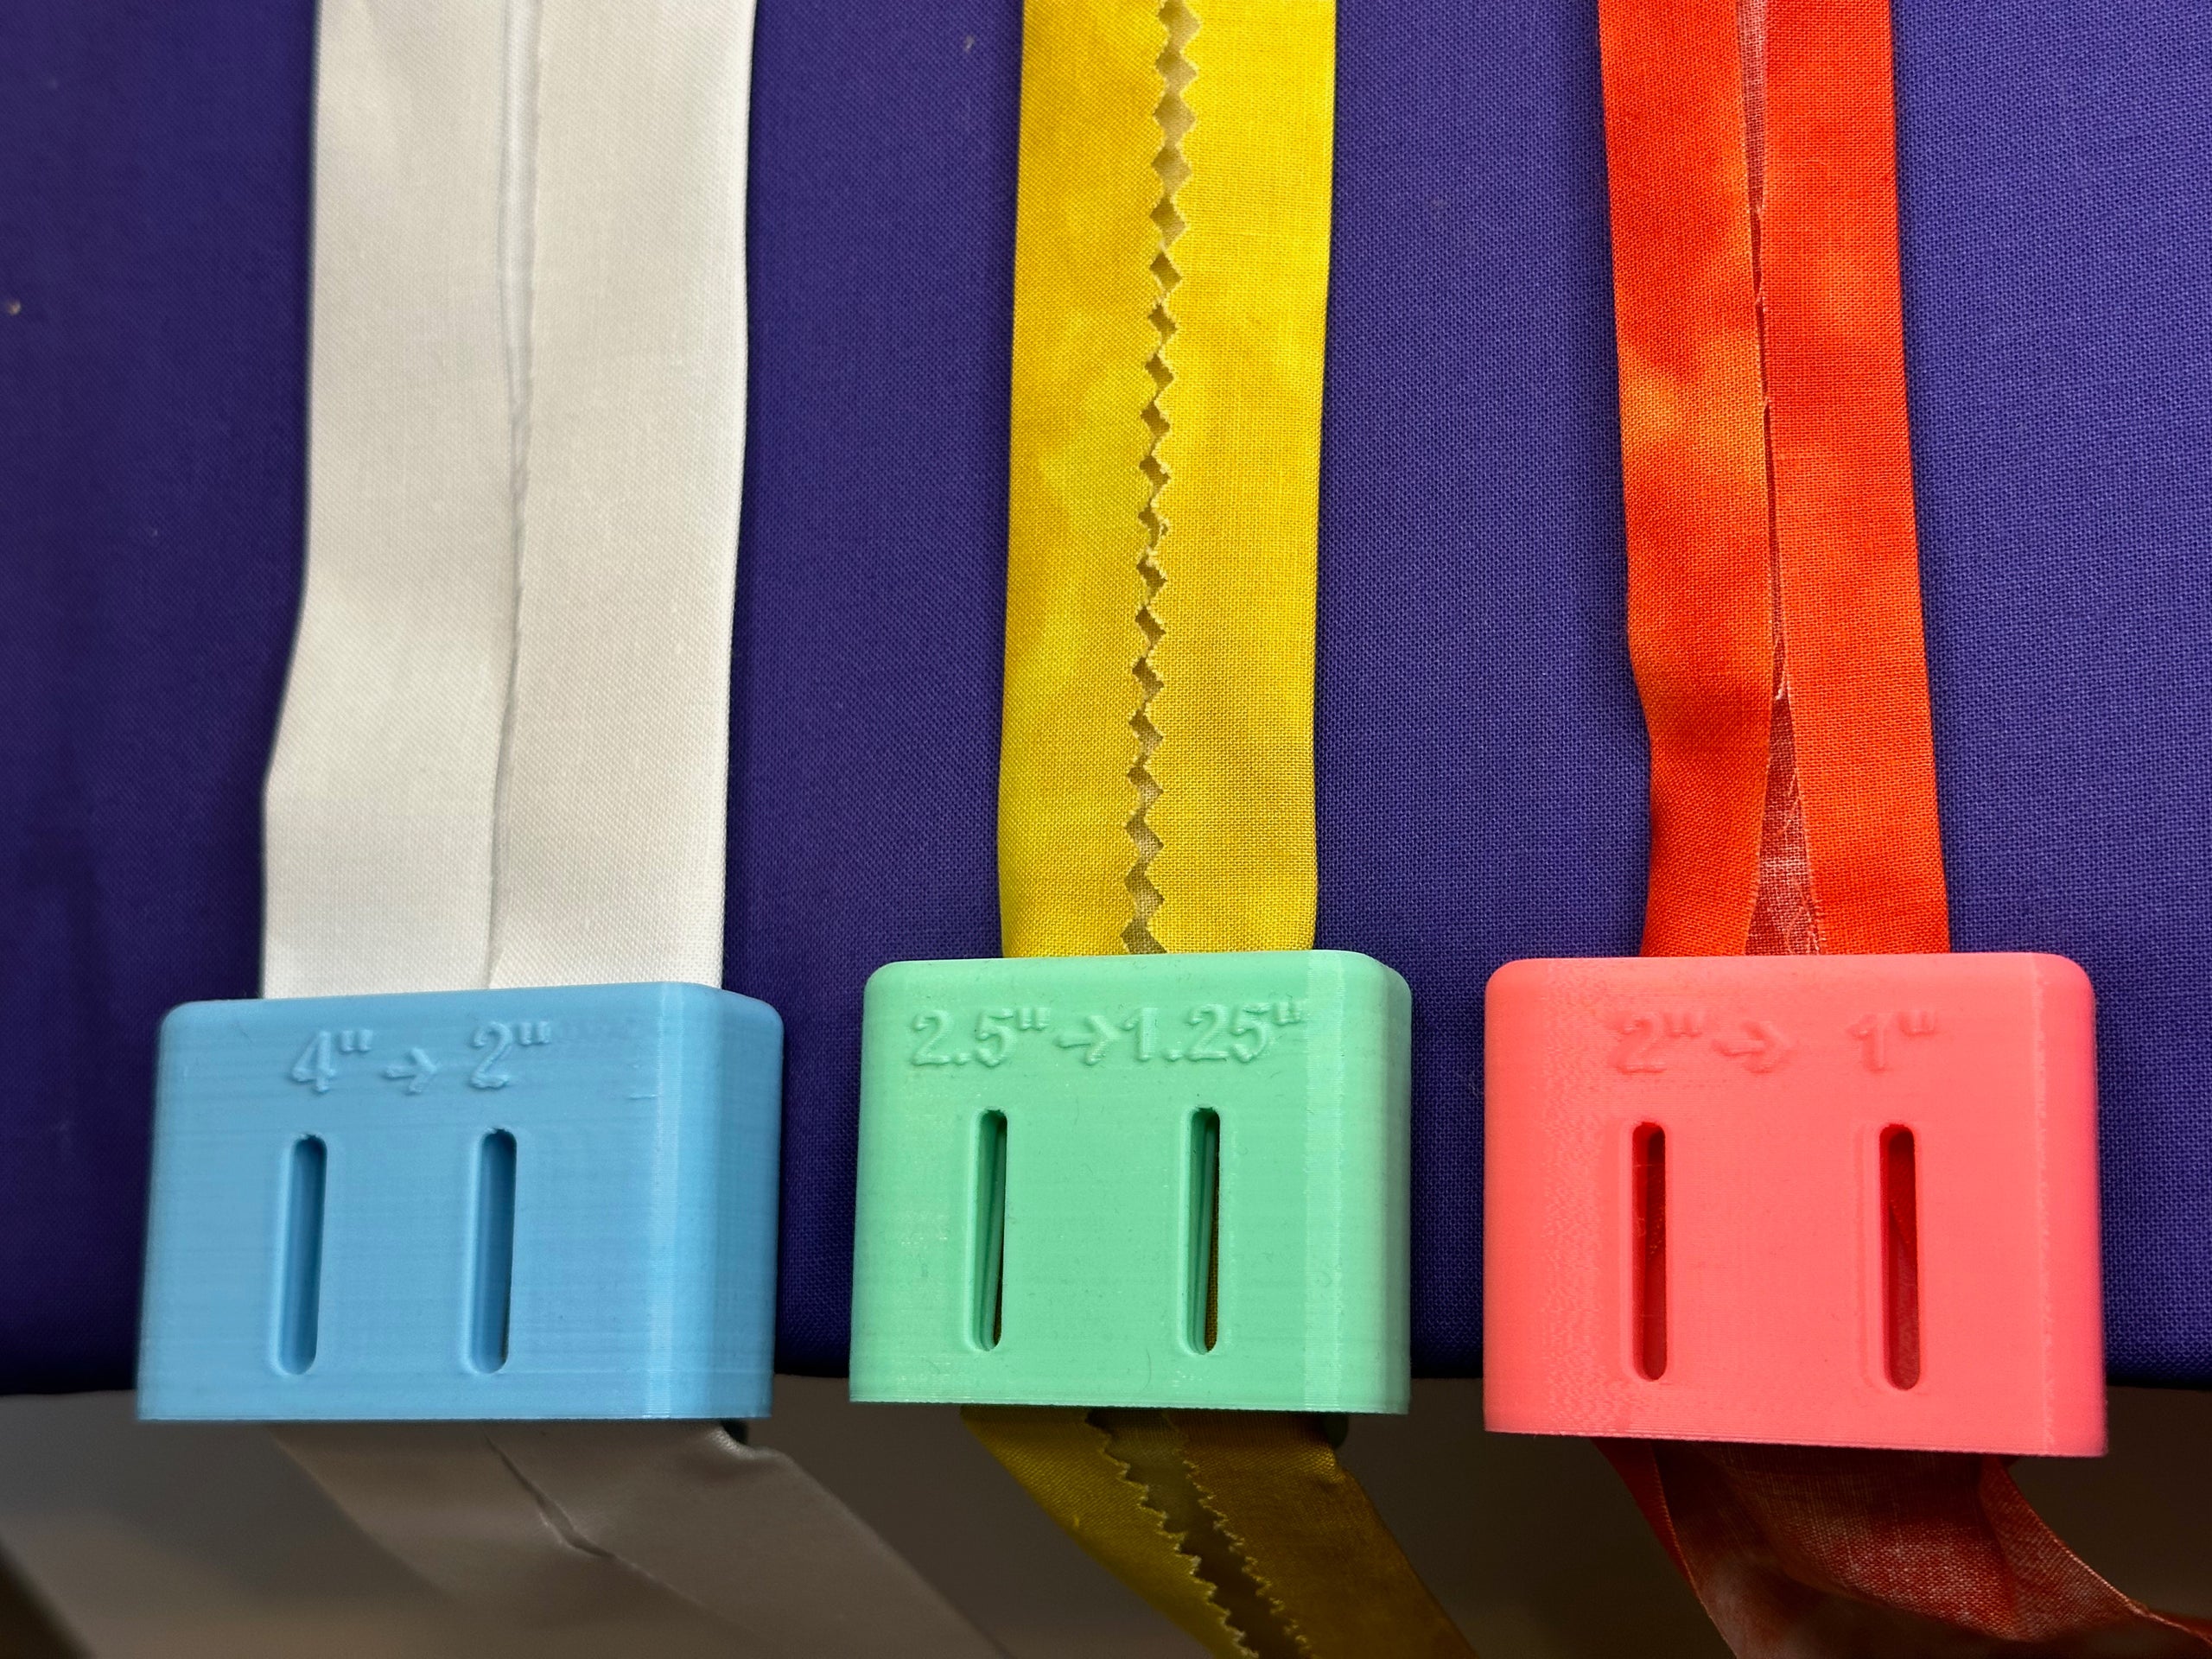
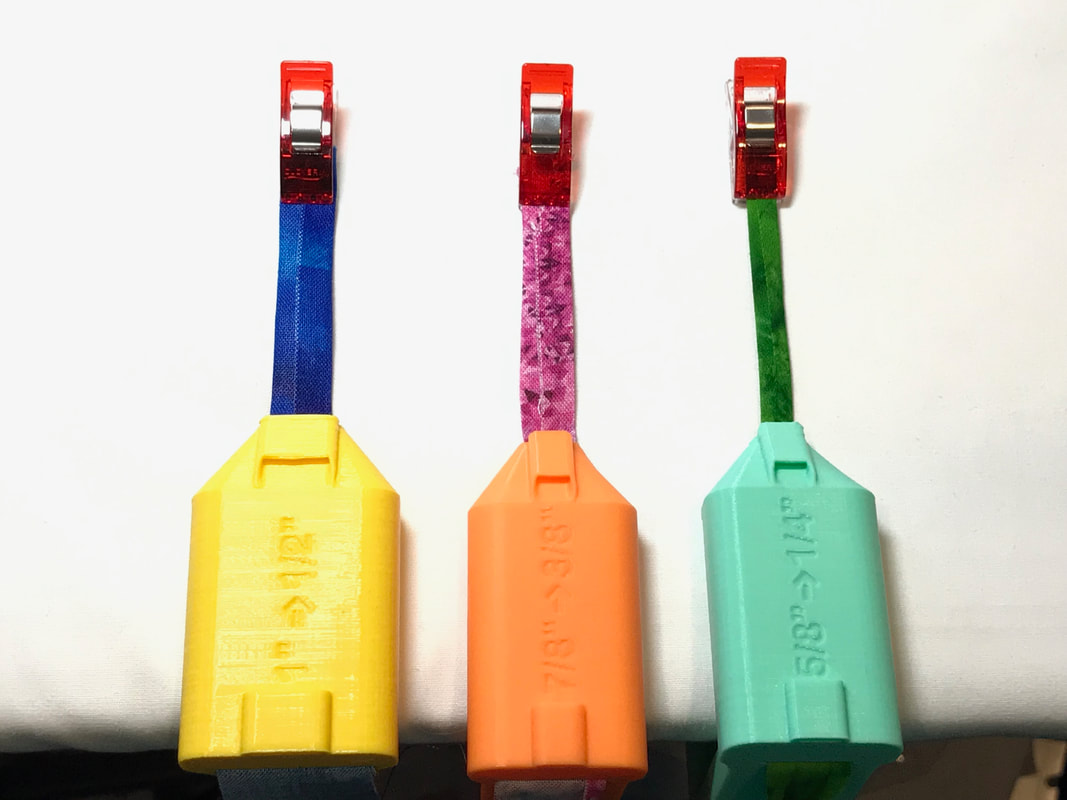
New Smaller Bias Clamp Sizes
|
We have three new sizes available:
The small sizes include a clip to help hold the fabric at the end (so you don't burn your fingers!) The smaller sizes are great for creating fusible bias tape for appliqué. I use Clover Fusible Web to make the fabric strips fusible. (See instructions below.) Note: it is important to use a spray starch with these smaller clamps to help keep the fabric folded properly after pressing with your iron. |
|
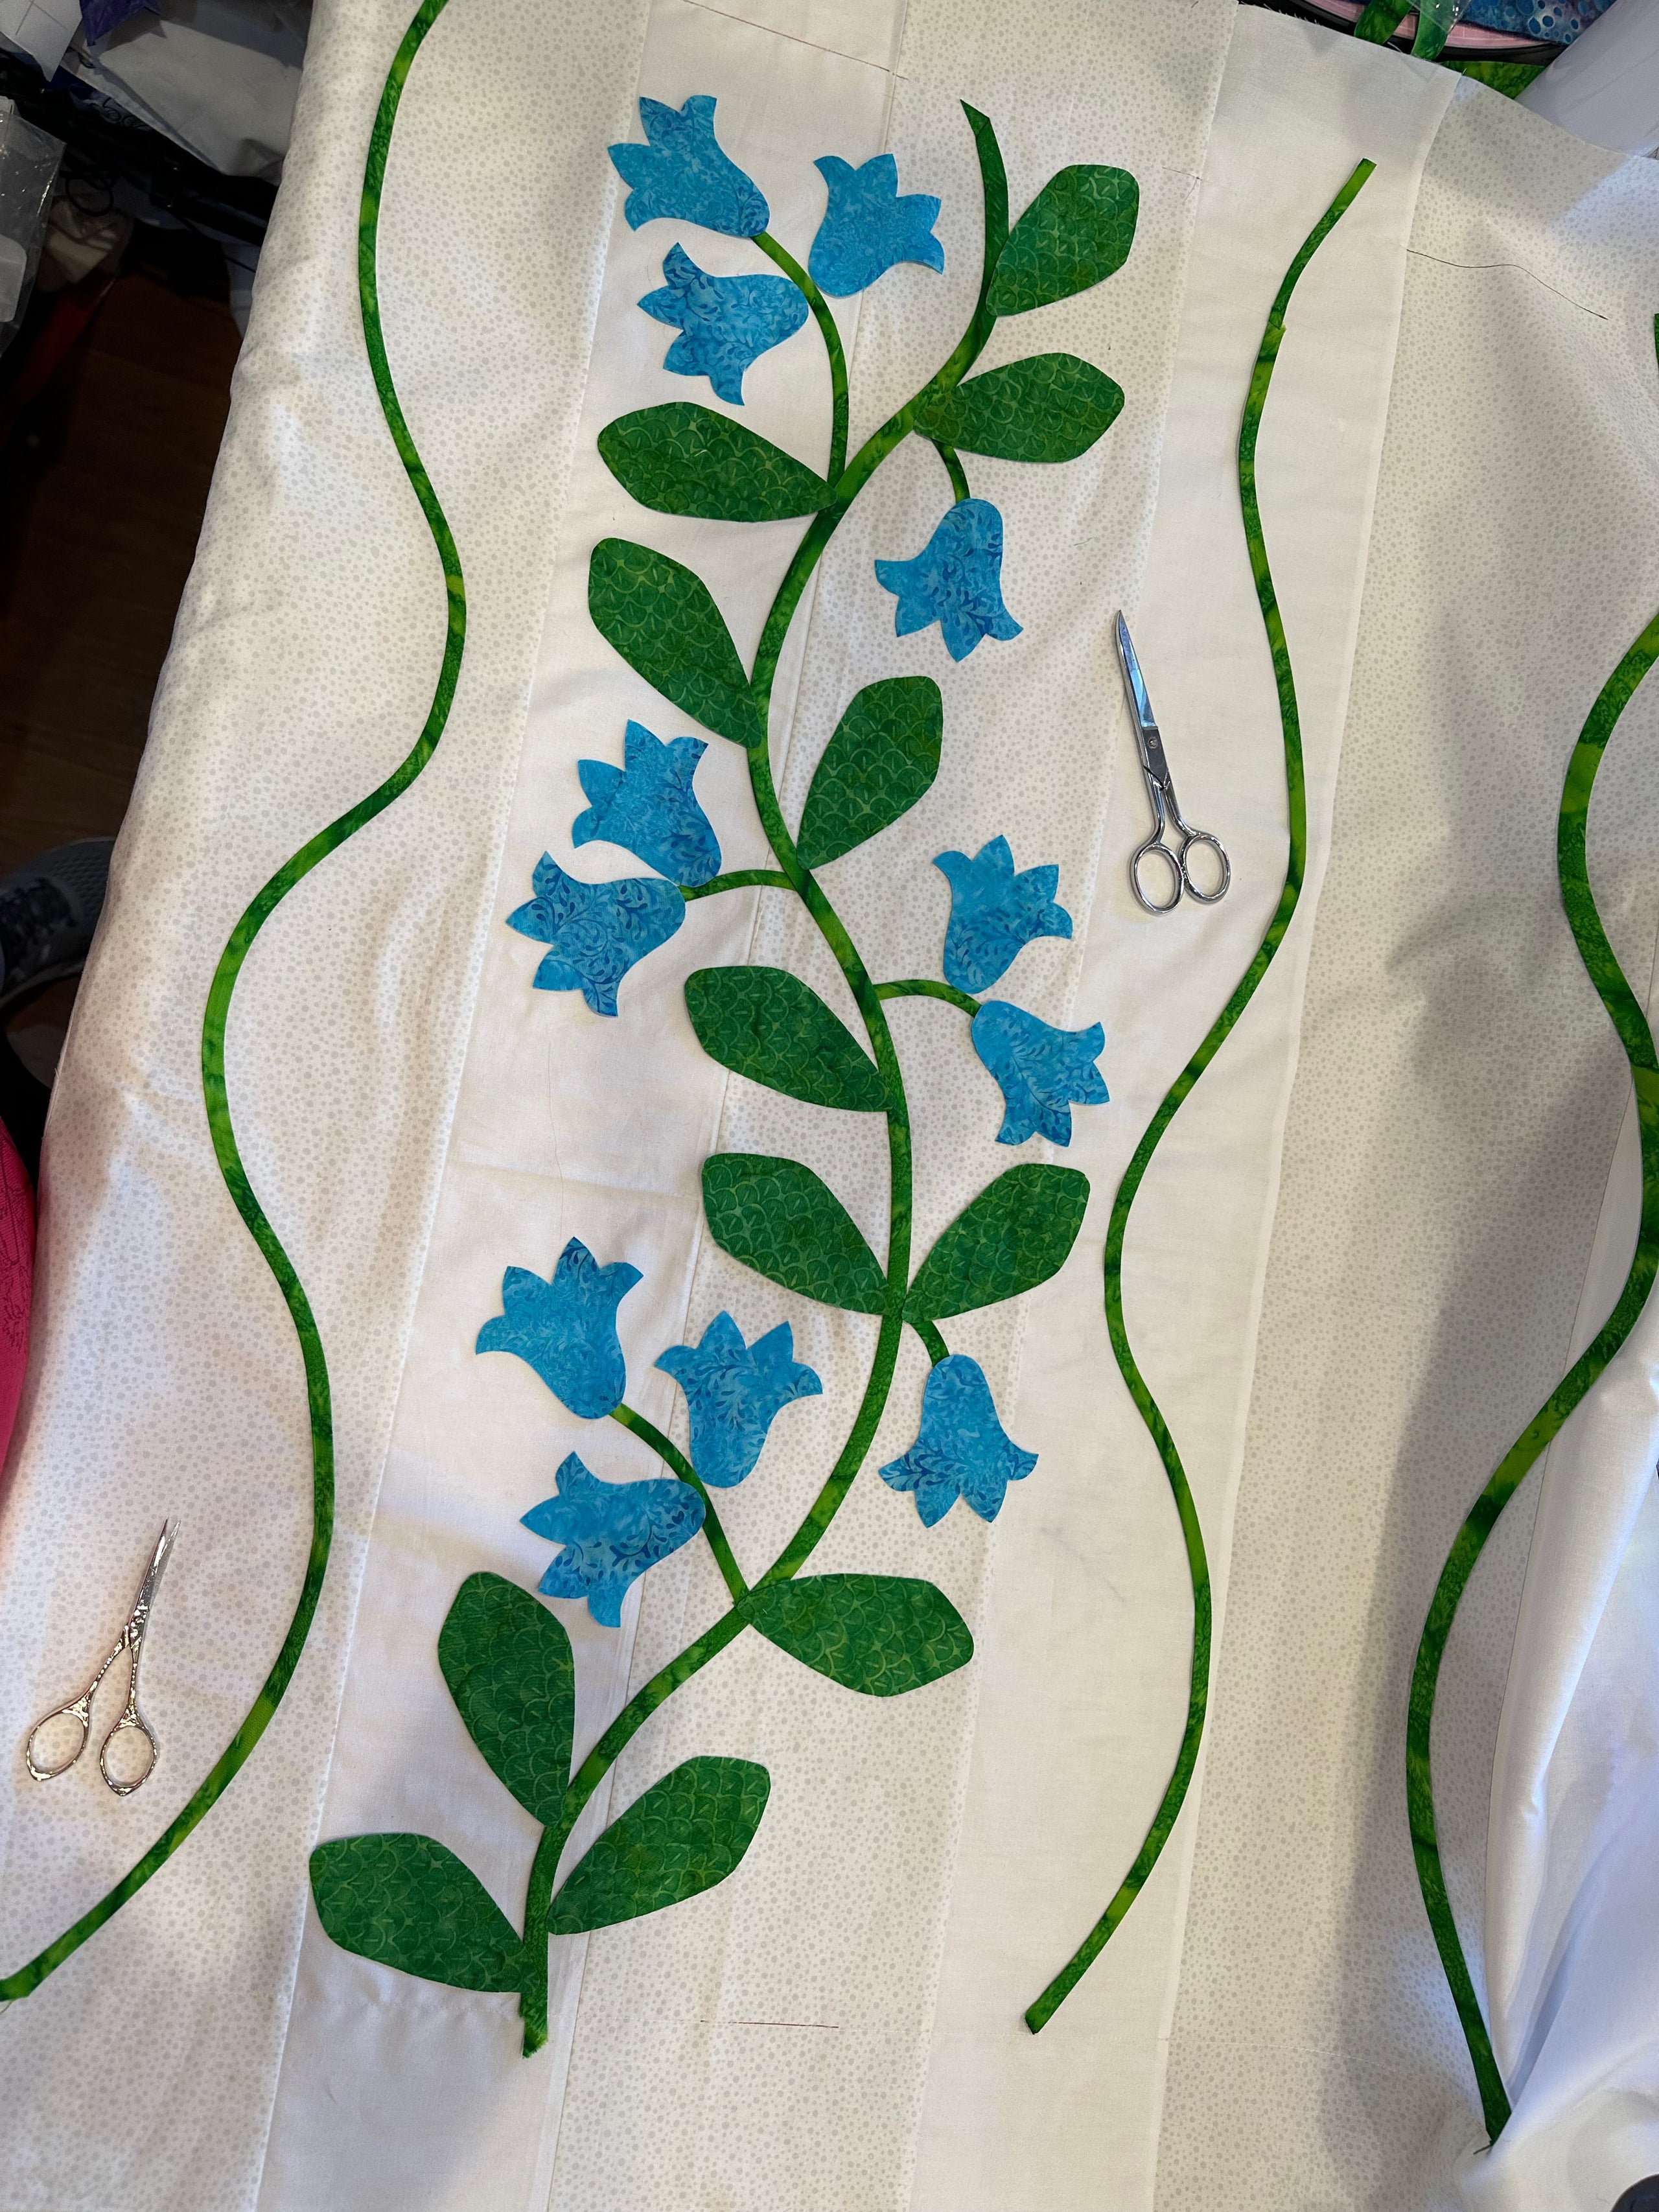
Example projects from the 1/4" and 3/8" Bias binders:


To Use the Bias Clamp
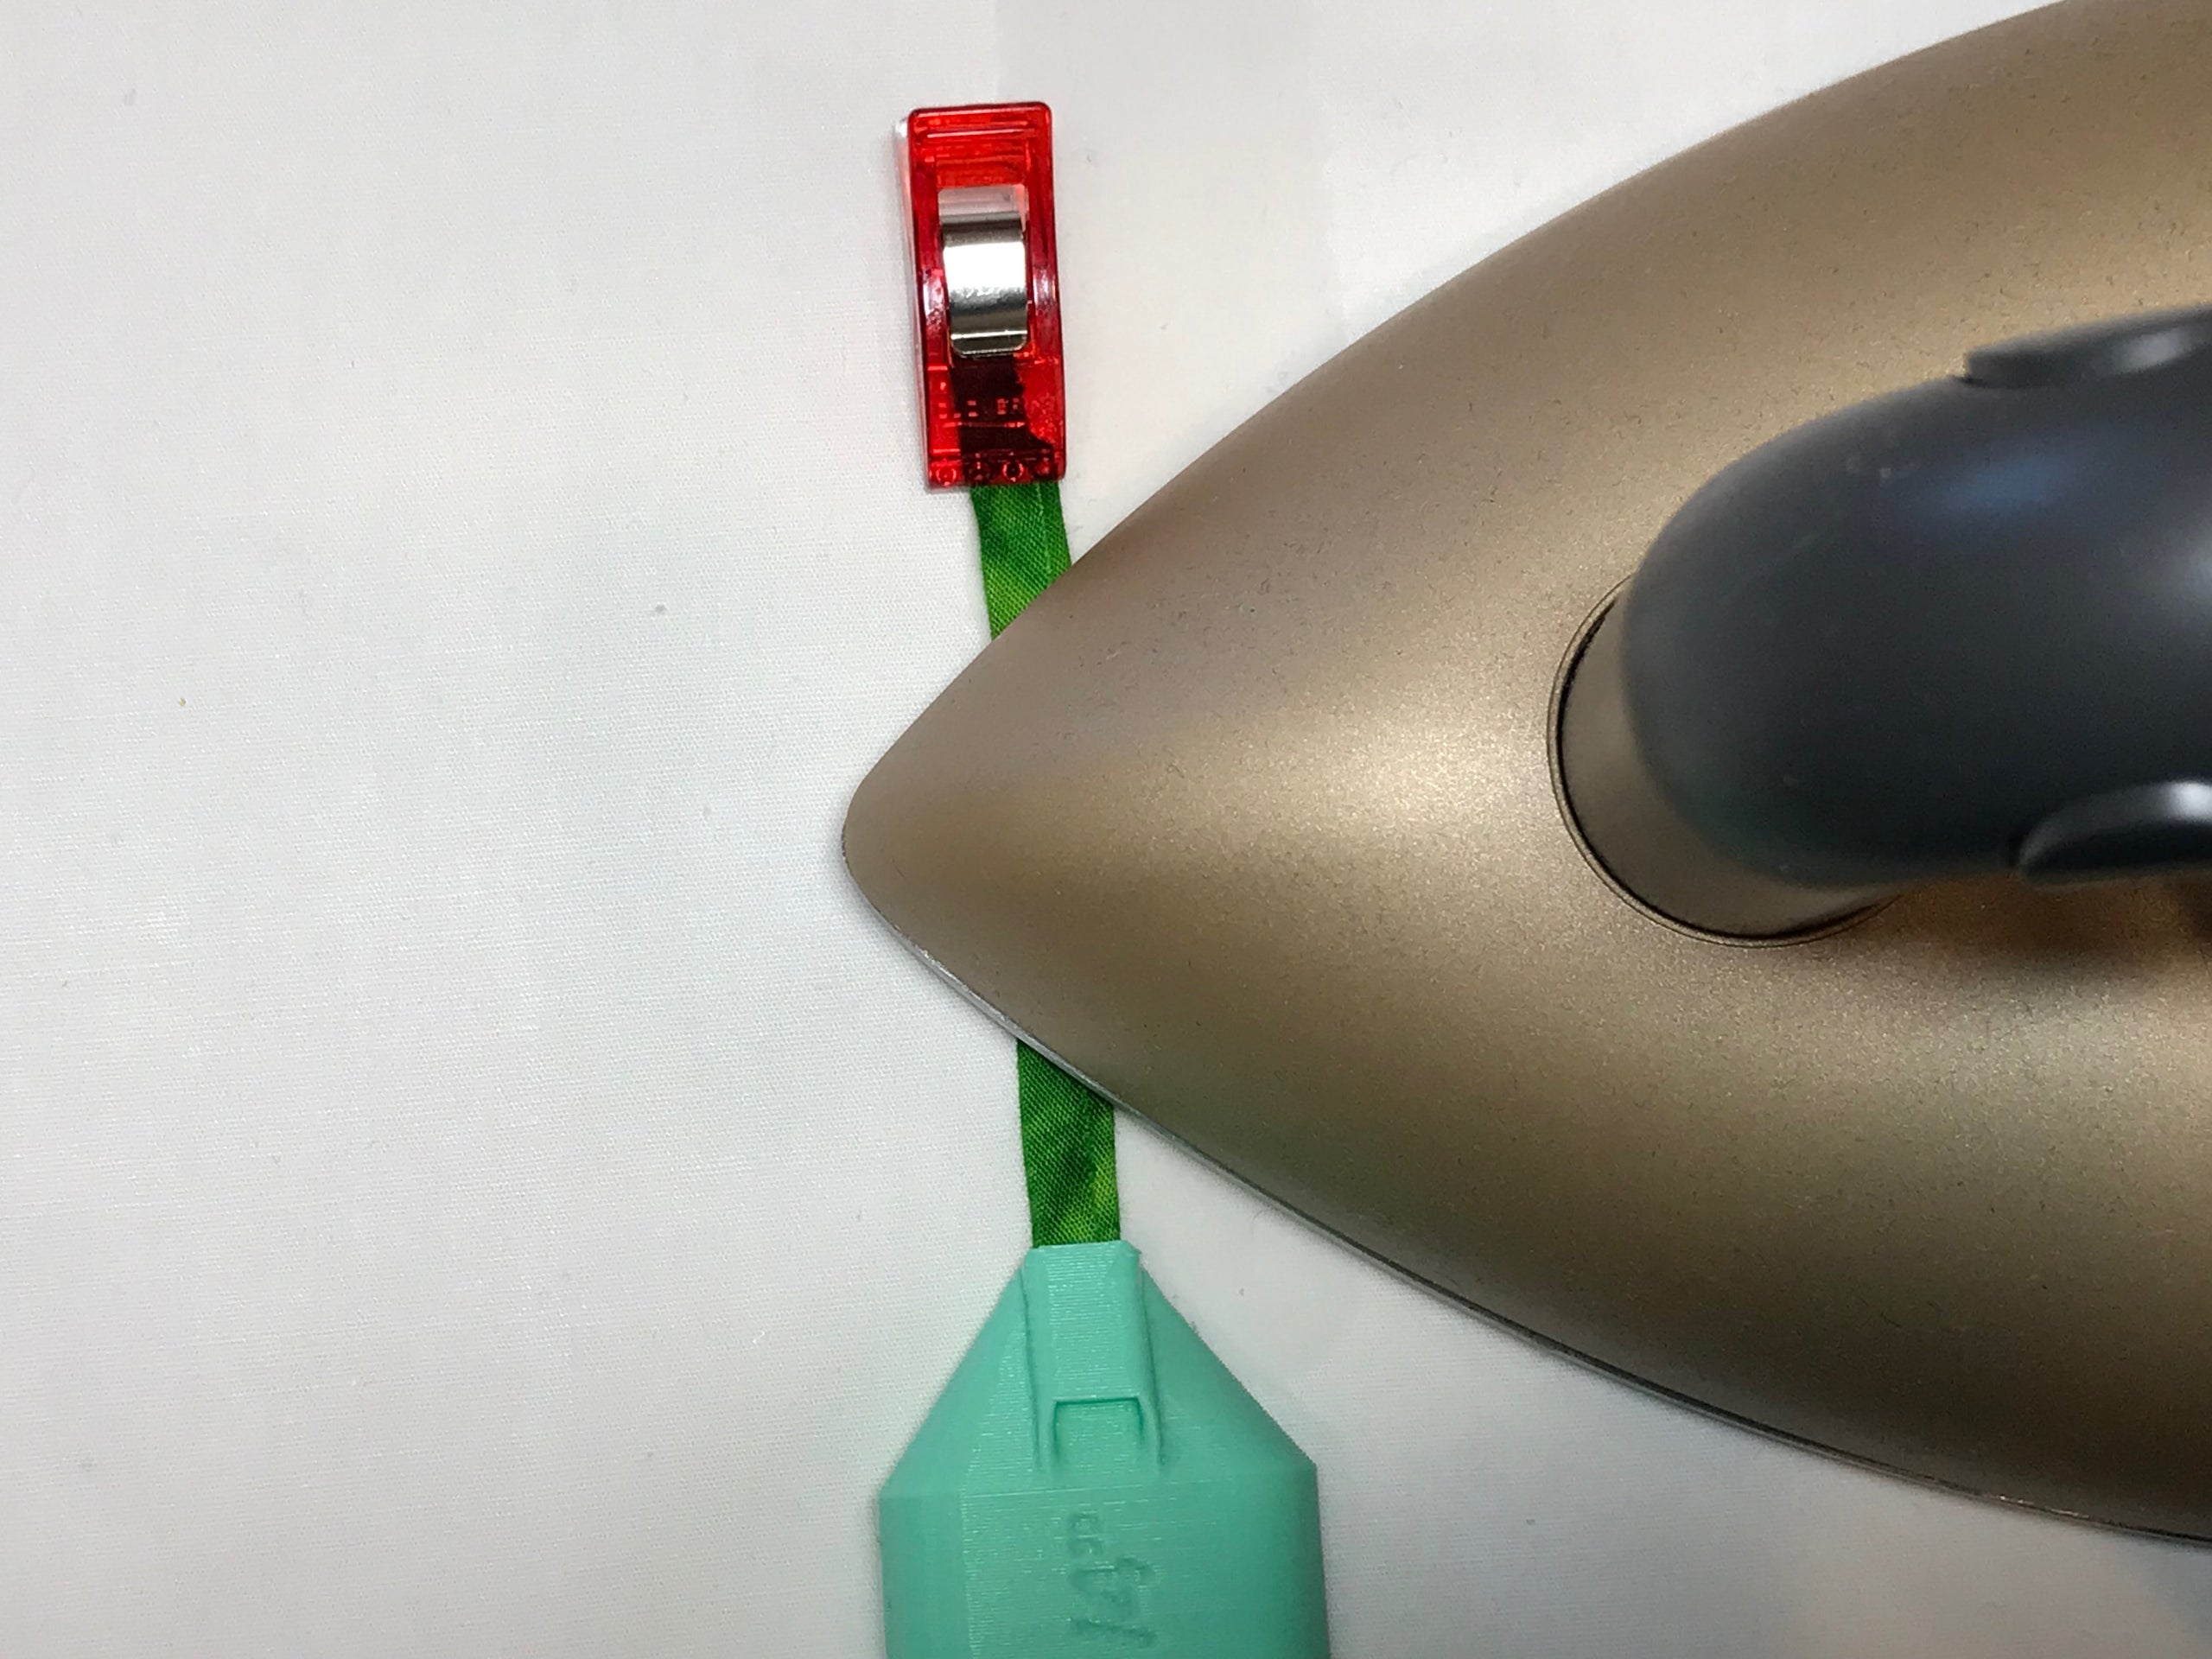
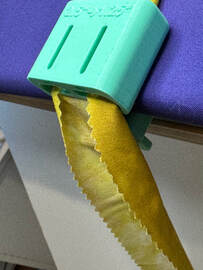
Loosen the wing nut and place the tool onto the side of your ironing surface as pictured above.
Slide the base up to touch the bottom of your ironing surface and tighten the wing nut. The clamp does not need to be super tight--you are going to need to slide it on and off the ironing surface for each strip that you iron.
Slide the tool off of the ironing surface for easier loading of the fabric.
Note: For best results, I spritz my fabric strips with a little Best Press before I begin. The fabric works well when it is slightly damp but not wet (if you accidentally get it too wet just use the iron the dry it off a bit).
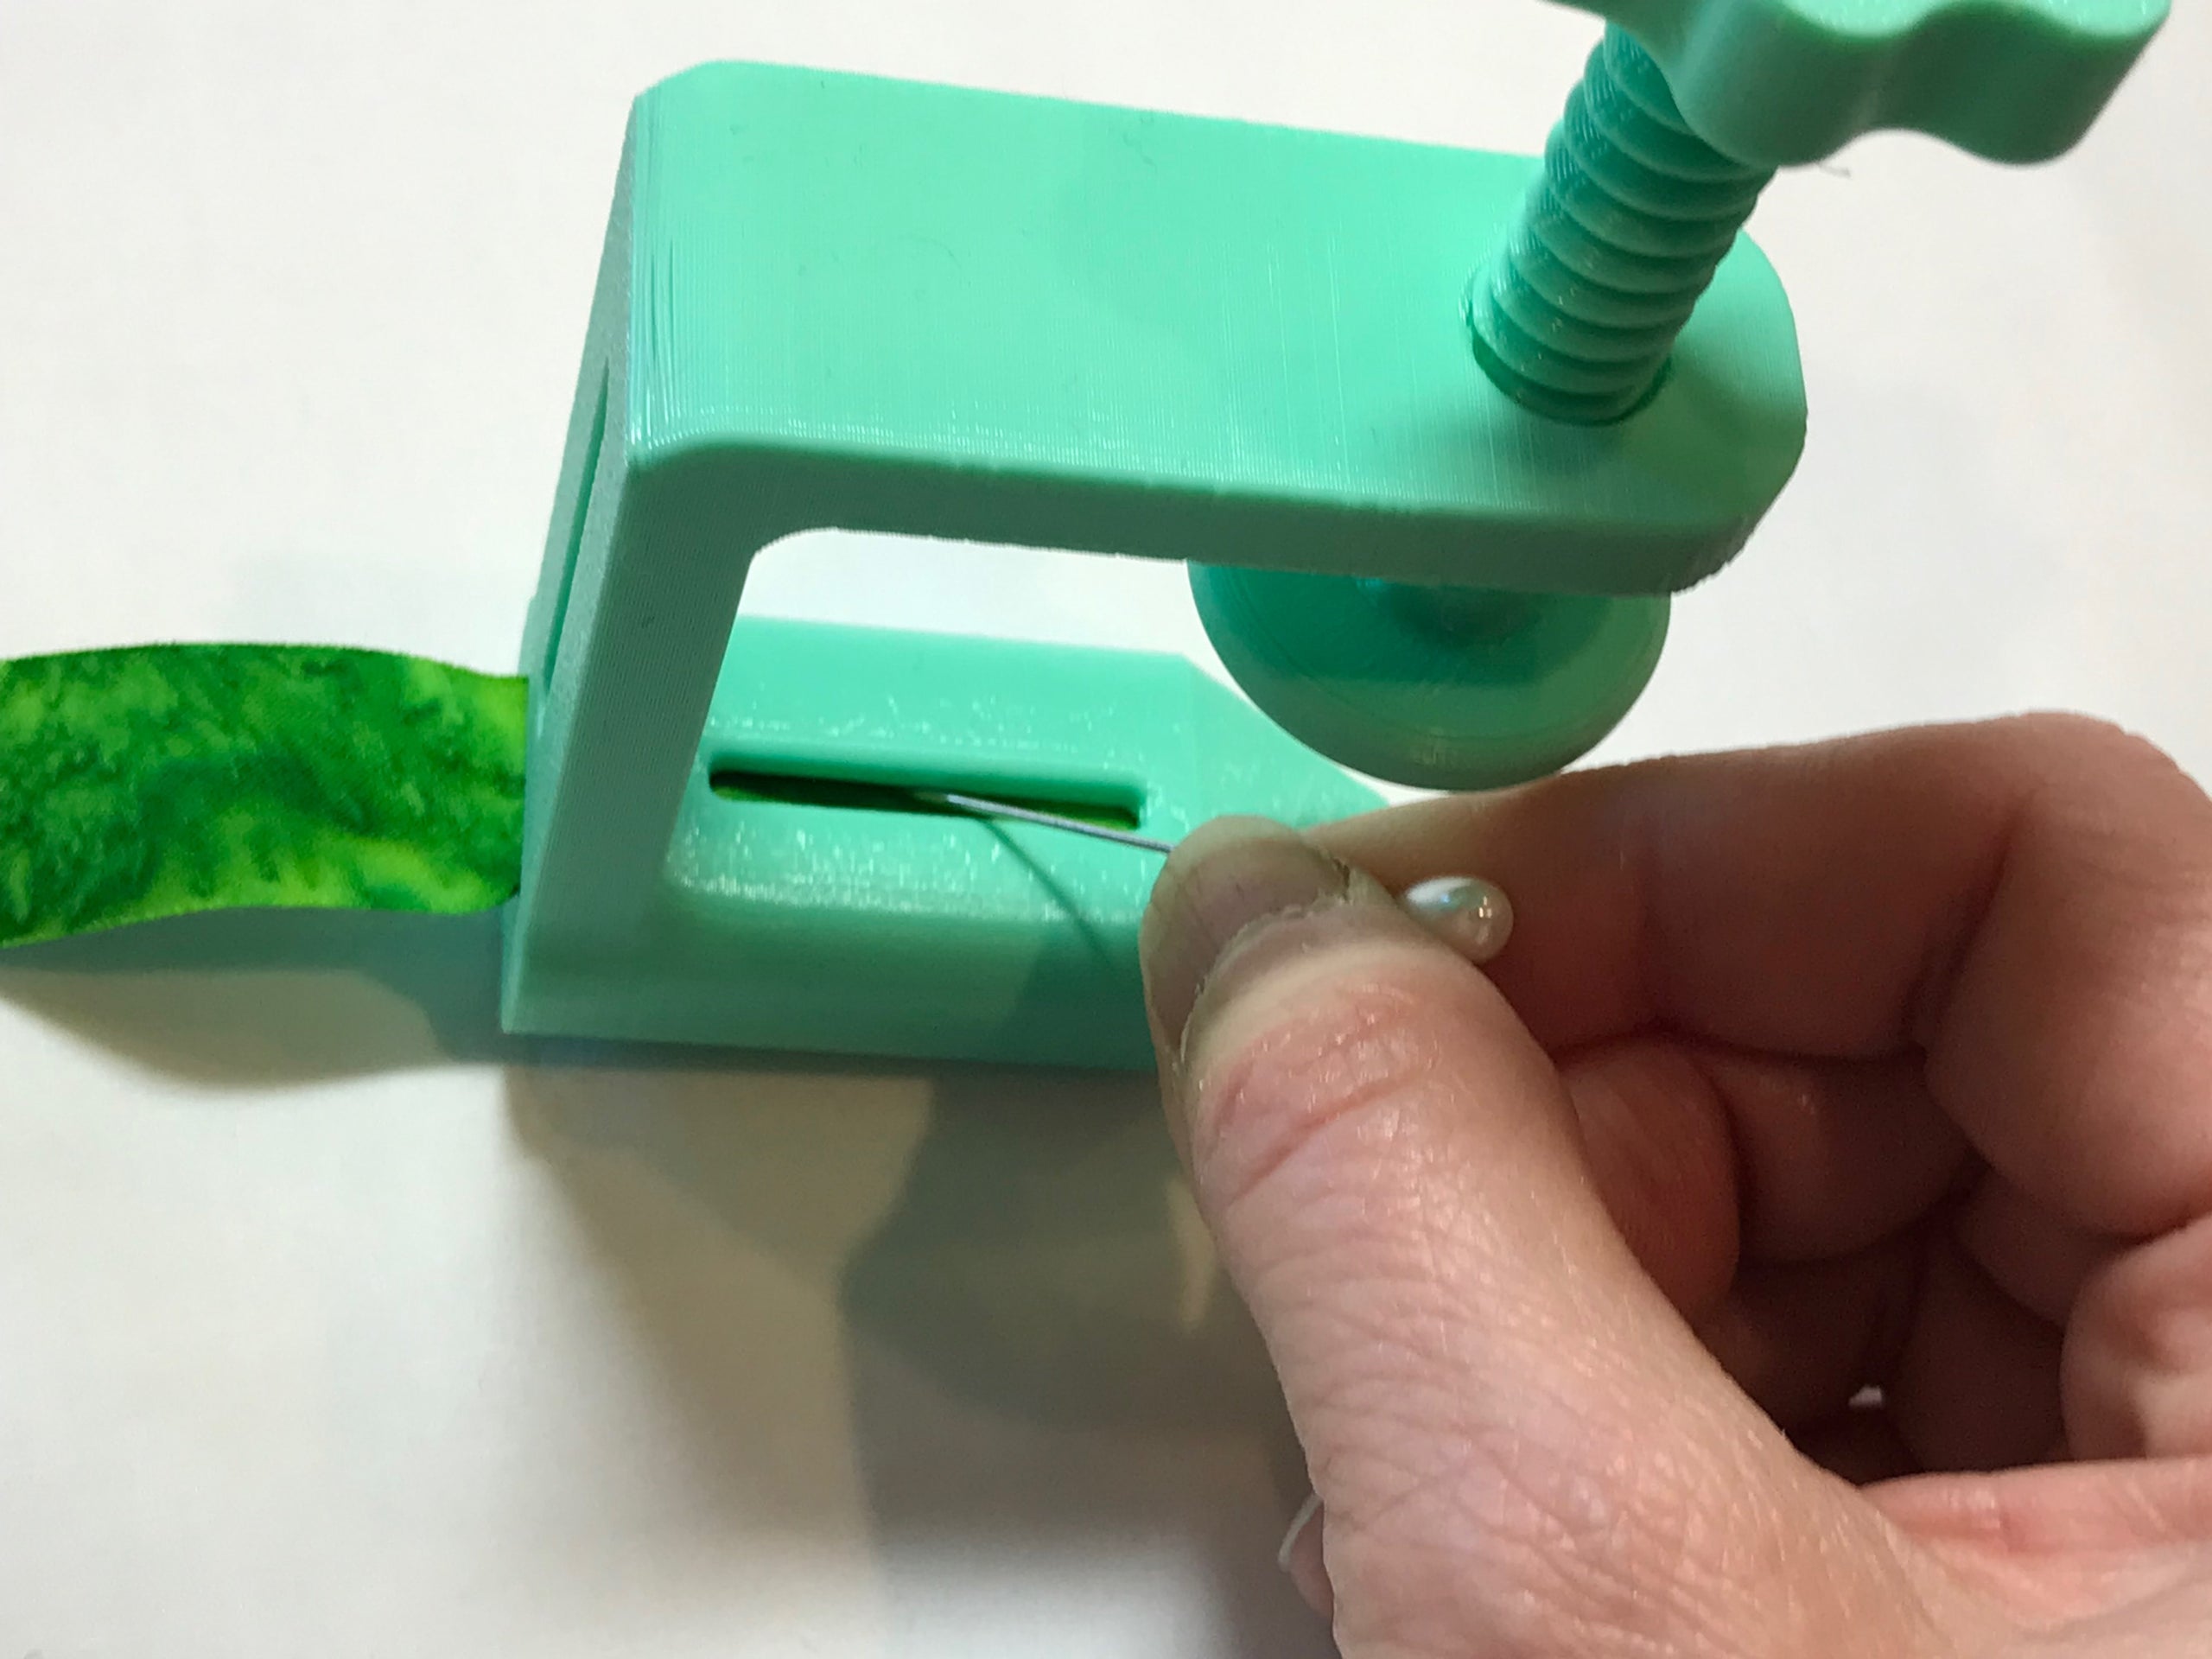
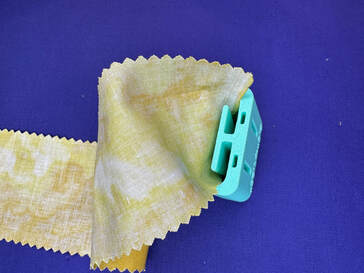
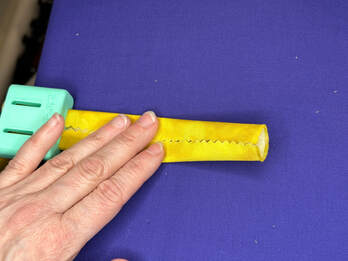
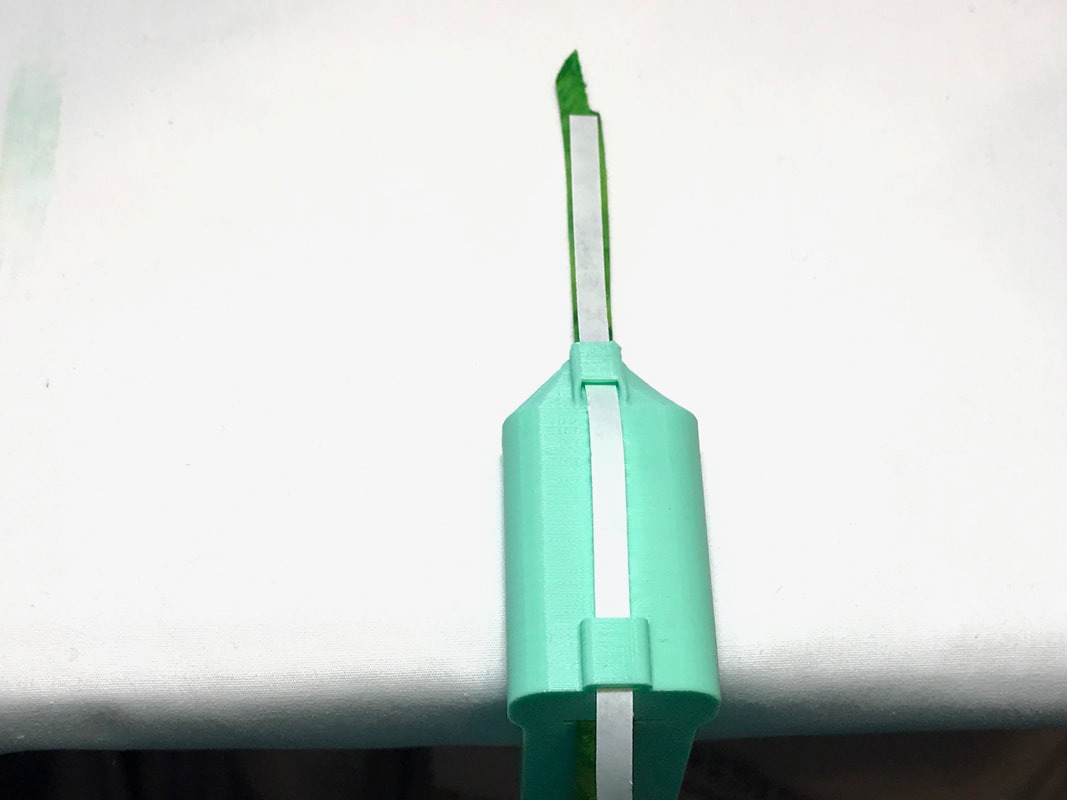
Place the fabric into the "C" shaped slot and use a pin if necessary to pull the fabric through the tool to the other side:
Slide the base up to touch the bottom of your ironing surface and tighten the wing nut. The clamp does not need to be super tight--you are going to need to slide it on and off the ironing surface for each strip that you iron.
Slide the tool off of the ironing surface for easier loading of the fabric.
Note: For best results, I spritz my fabric strips with a little Best Press before I begin. The fabric works well when it is slightly damp but not wet (if you accidentally get it too wet just use the iron the dry it off a bit).
Place the fabric into the "C" shaped slot and use a pin if necessary to pull the fabric through the tool to the other side:
|
|
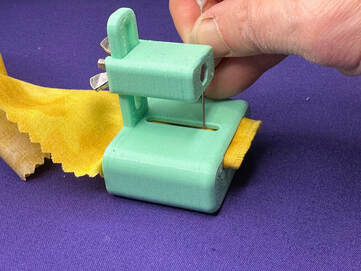
Pull a few inches of fabric out to get the binding strip started then load the tool back onto the side of your ironing board.

|
|
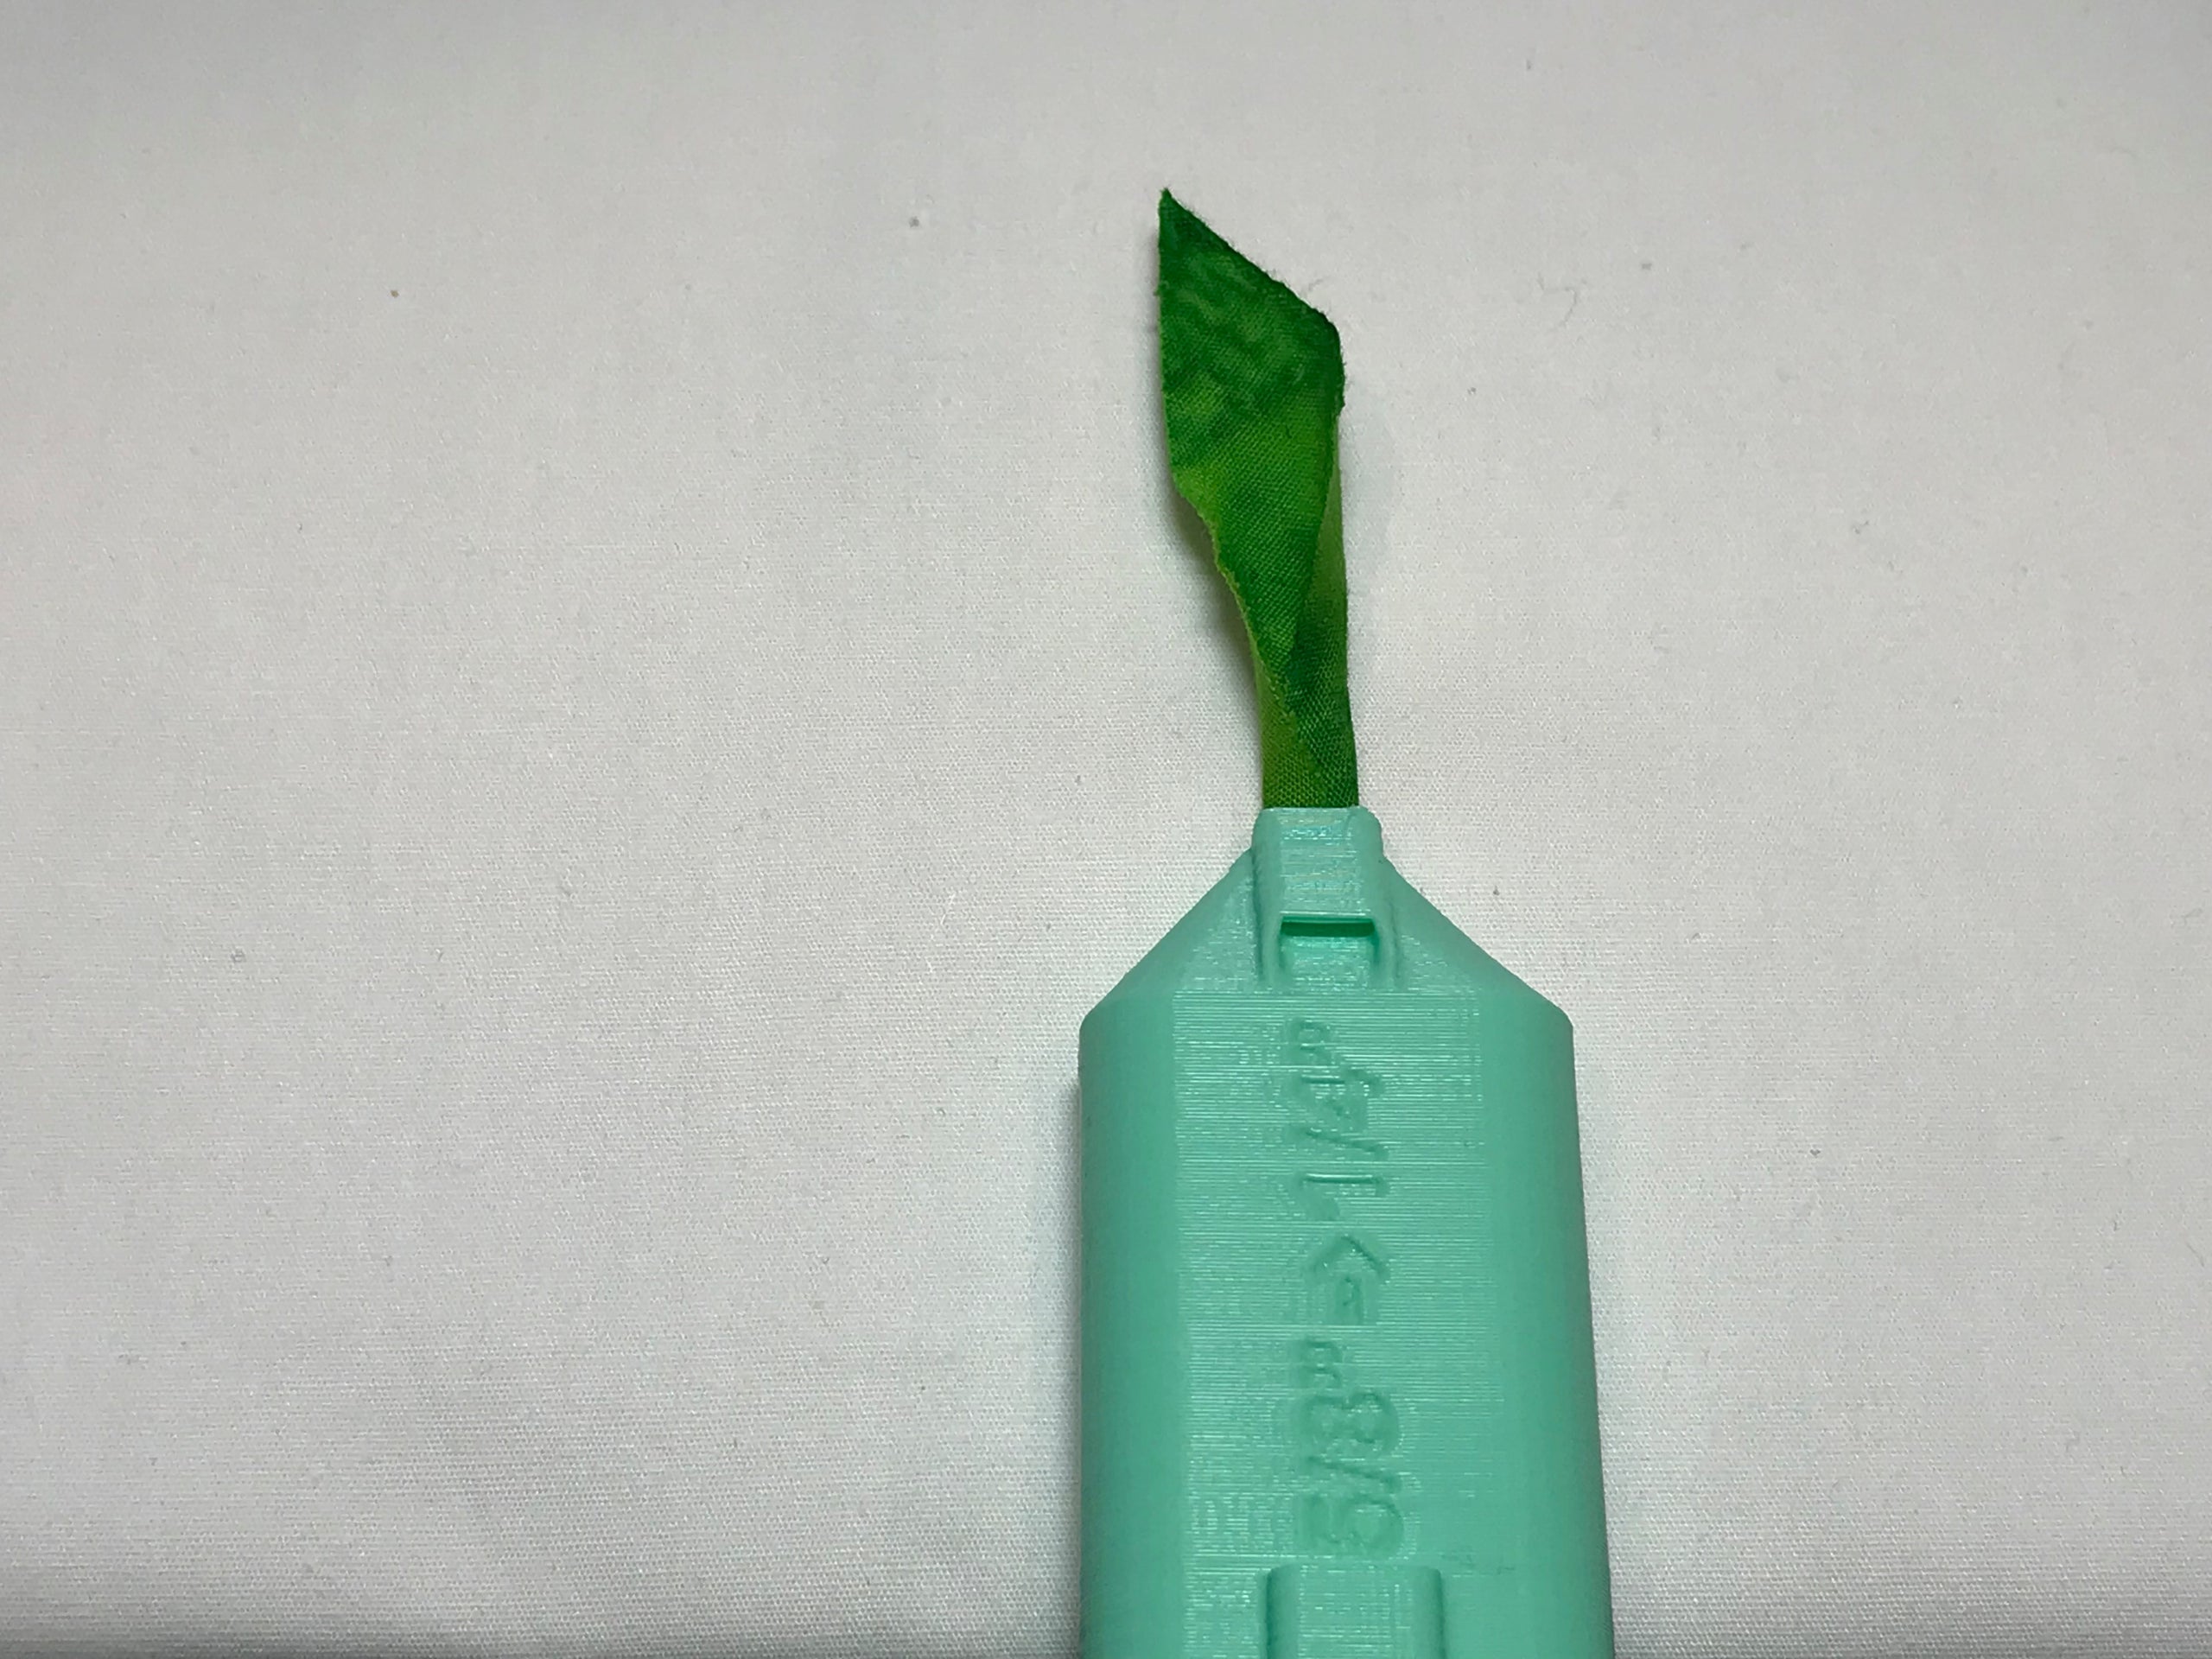
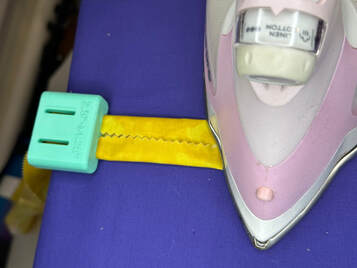
Straighten the raw edges of the fabric and press with your iron.
|
|
Continue pulling the fabric and pressing it until the entire strip is complete.
Adding fusible tape
I love to use double fold sashing with quilt as you go (QAYG) quilt blocks. You can add fusible tape to your sashing to make it fusible (I prefer this method over using pins or glue but you should use whichever method works best for you).
Create a strip of bias binding/sashing as shown above.
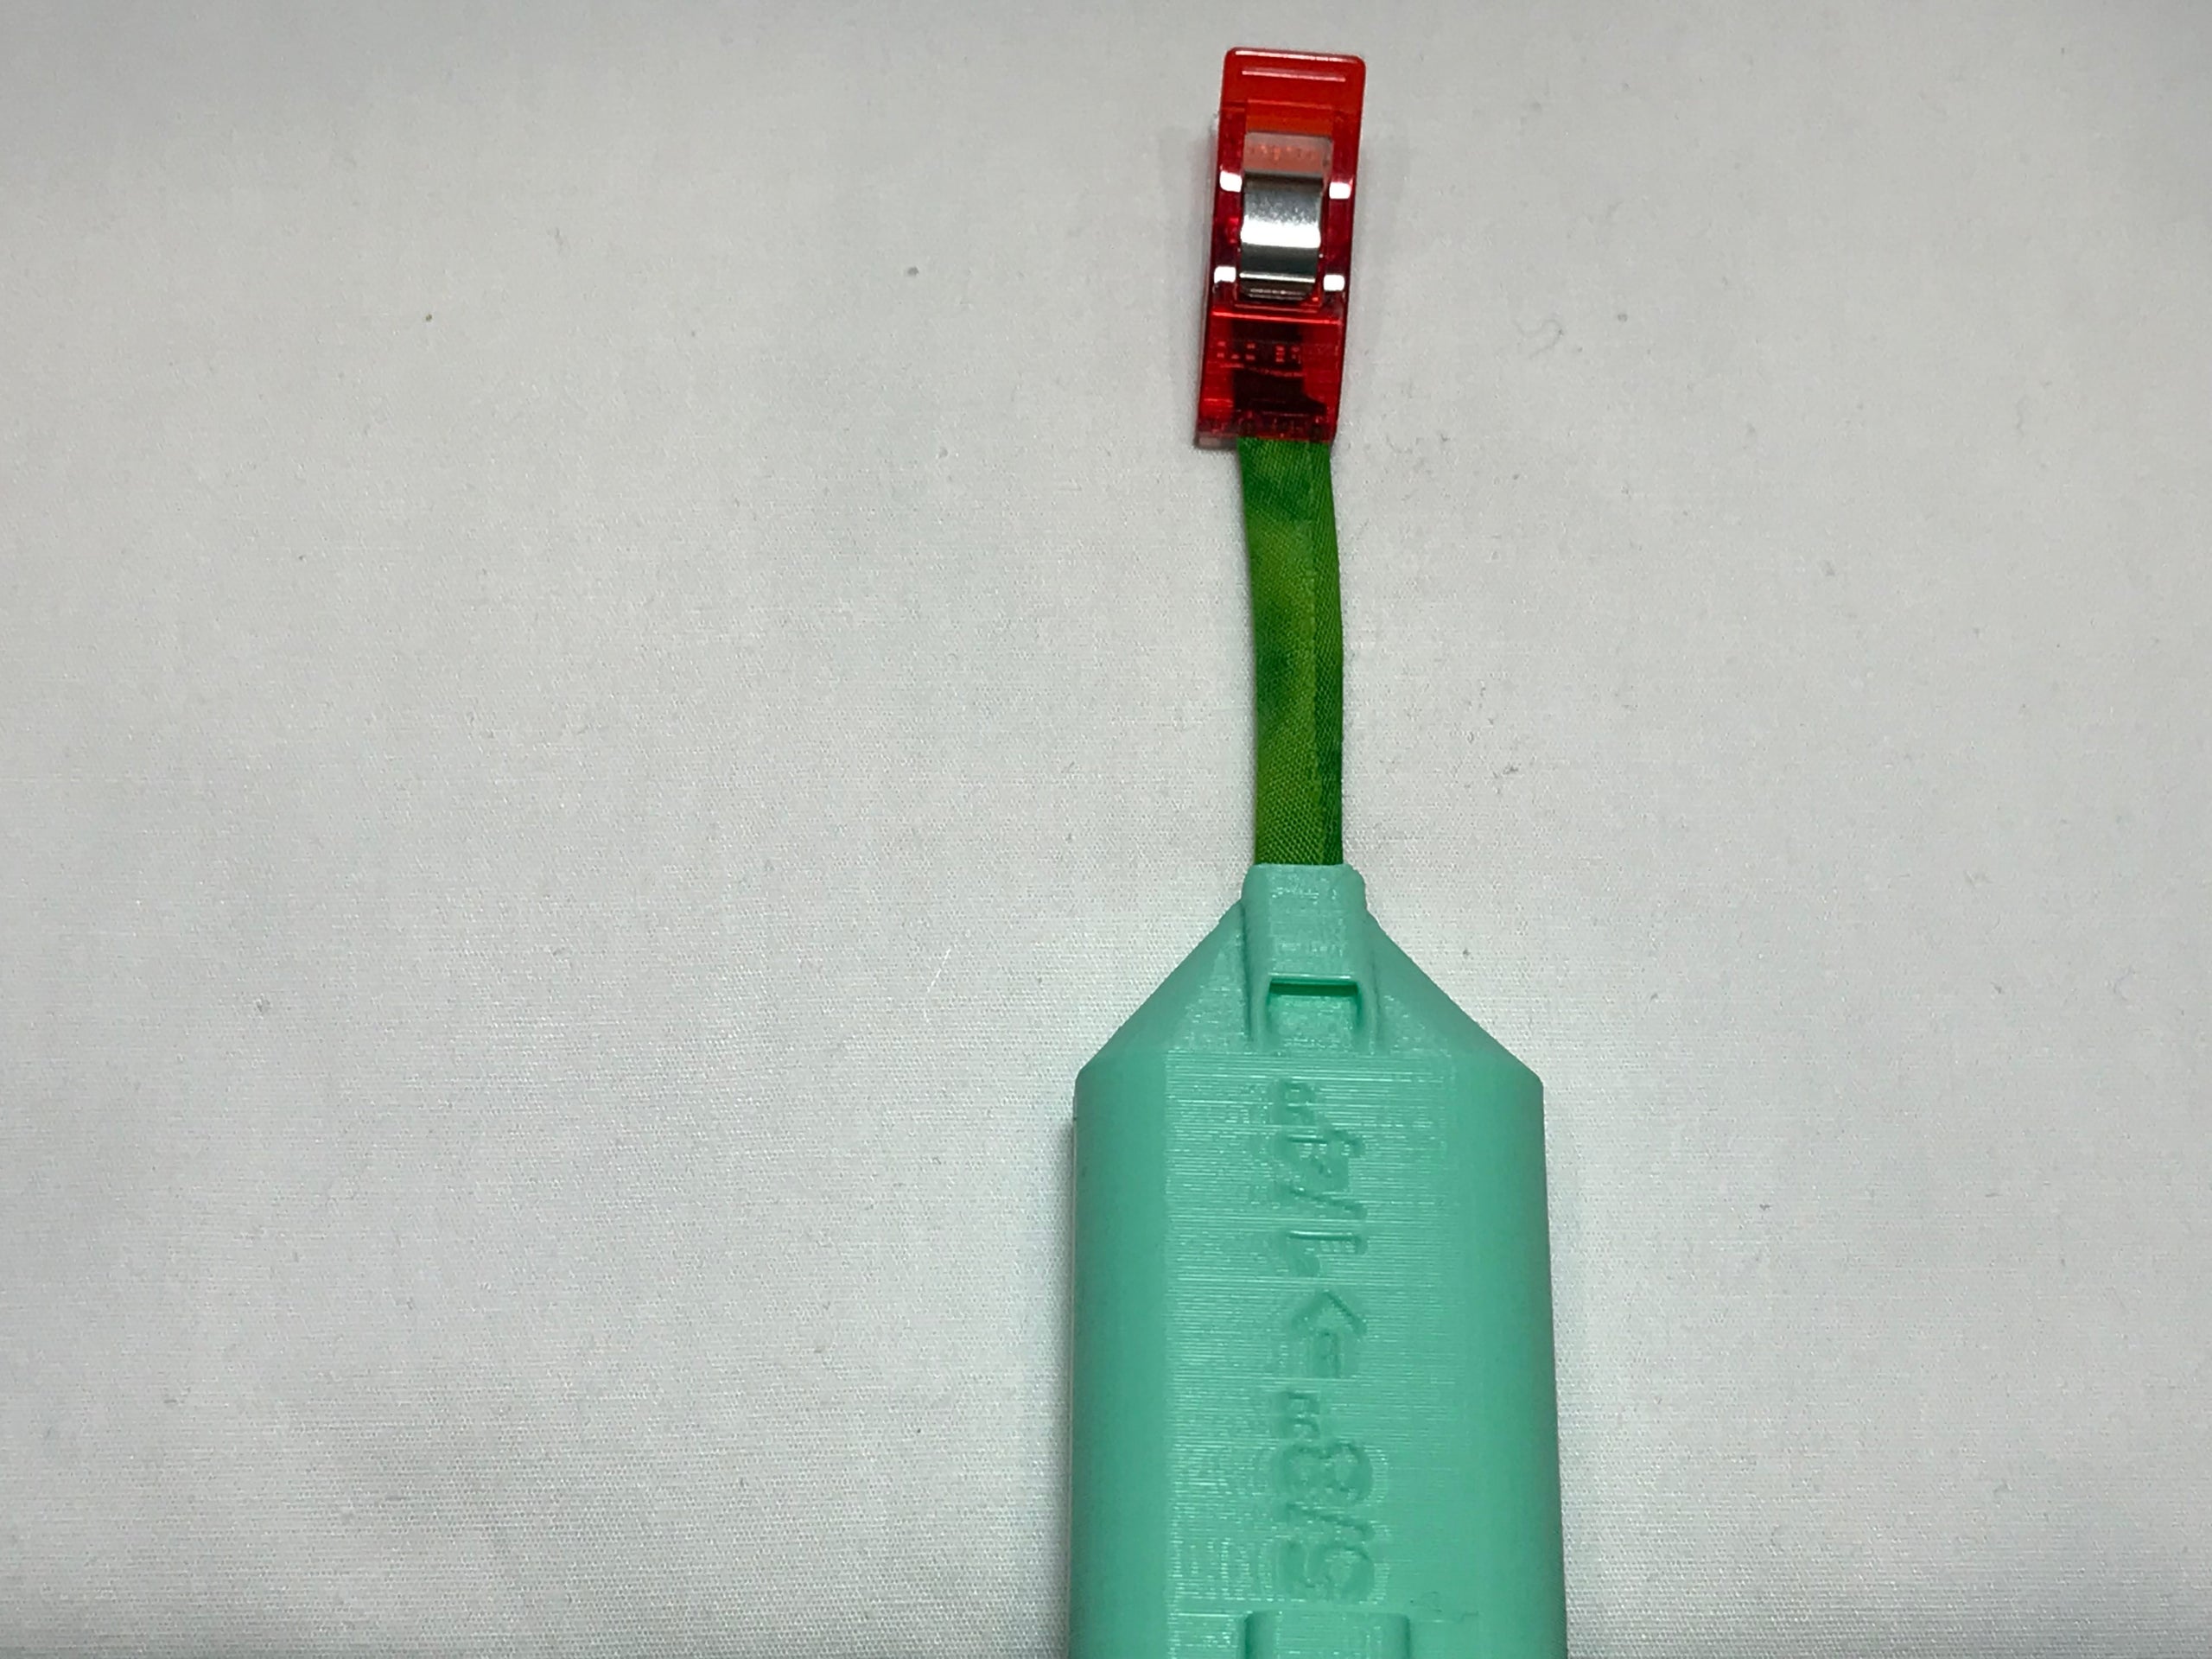
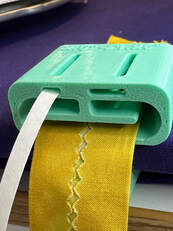
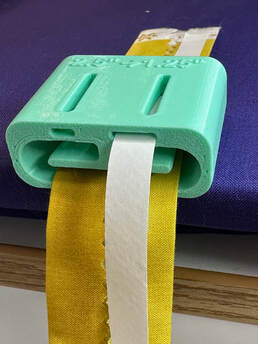
Take your double folded strip and load it back into the bottom slot of the tool with the raw edges facing up so you can see them. Be sure to keep the strip flat as you load it into the bottom of the slot as pictured below:
Create a strip of bias binding/sashing as shown above.
Take your double folded strip and load it back into the bottom slot of the tool with the raw edges facing up so you can see them. Be sure to keep the strip flat as you load it into the bottom of the slot as pictured below:

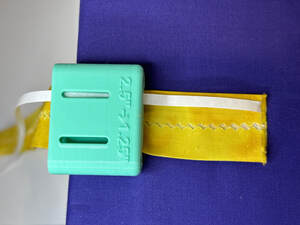
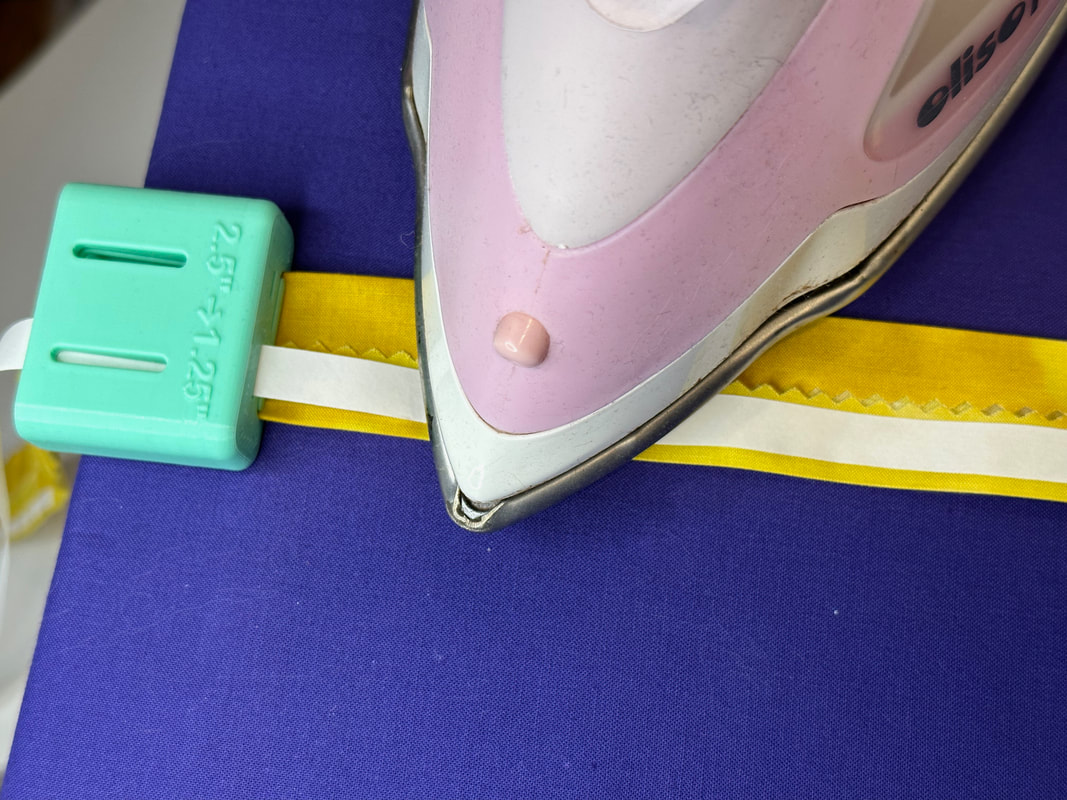
After loading the strip into the tool, load a piece of fusible tape with the rough side down and the paper side up (so your iron touches the paper and not the glue!)
|
|
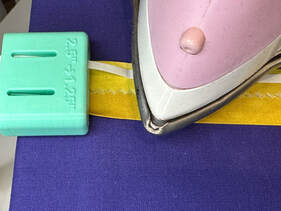
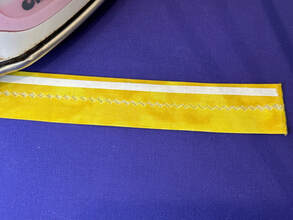
Press the fusible tape in place and slowly pull the fabric and tape through the tool until you have secured as much fusible tape as you need.
|
|
If you have a Bias Clamp for 2" strips or smaller, then the slots are only wide enough for 5mm tape.
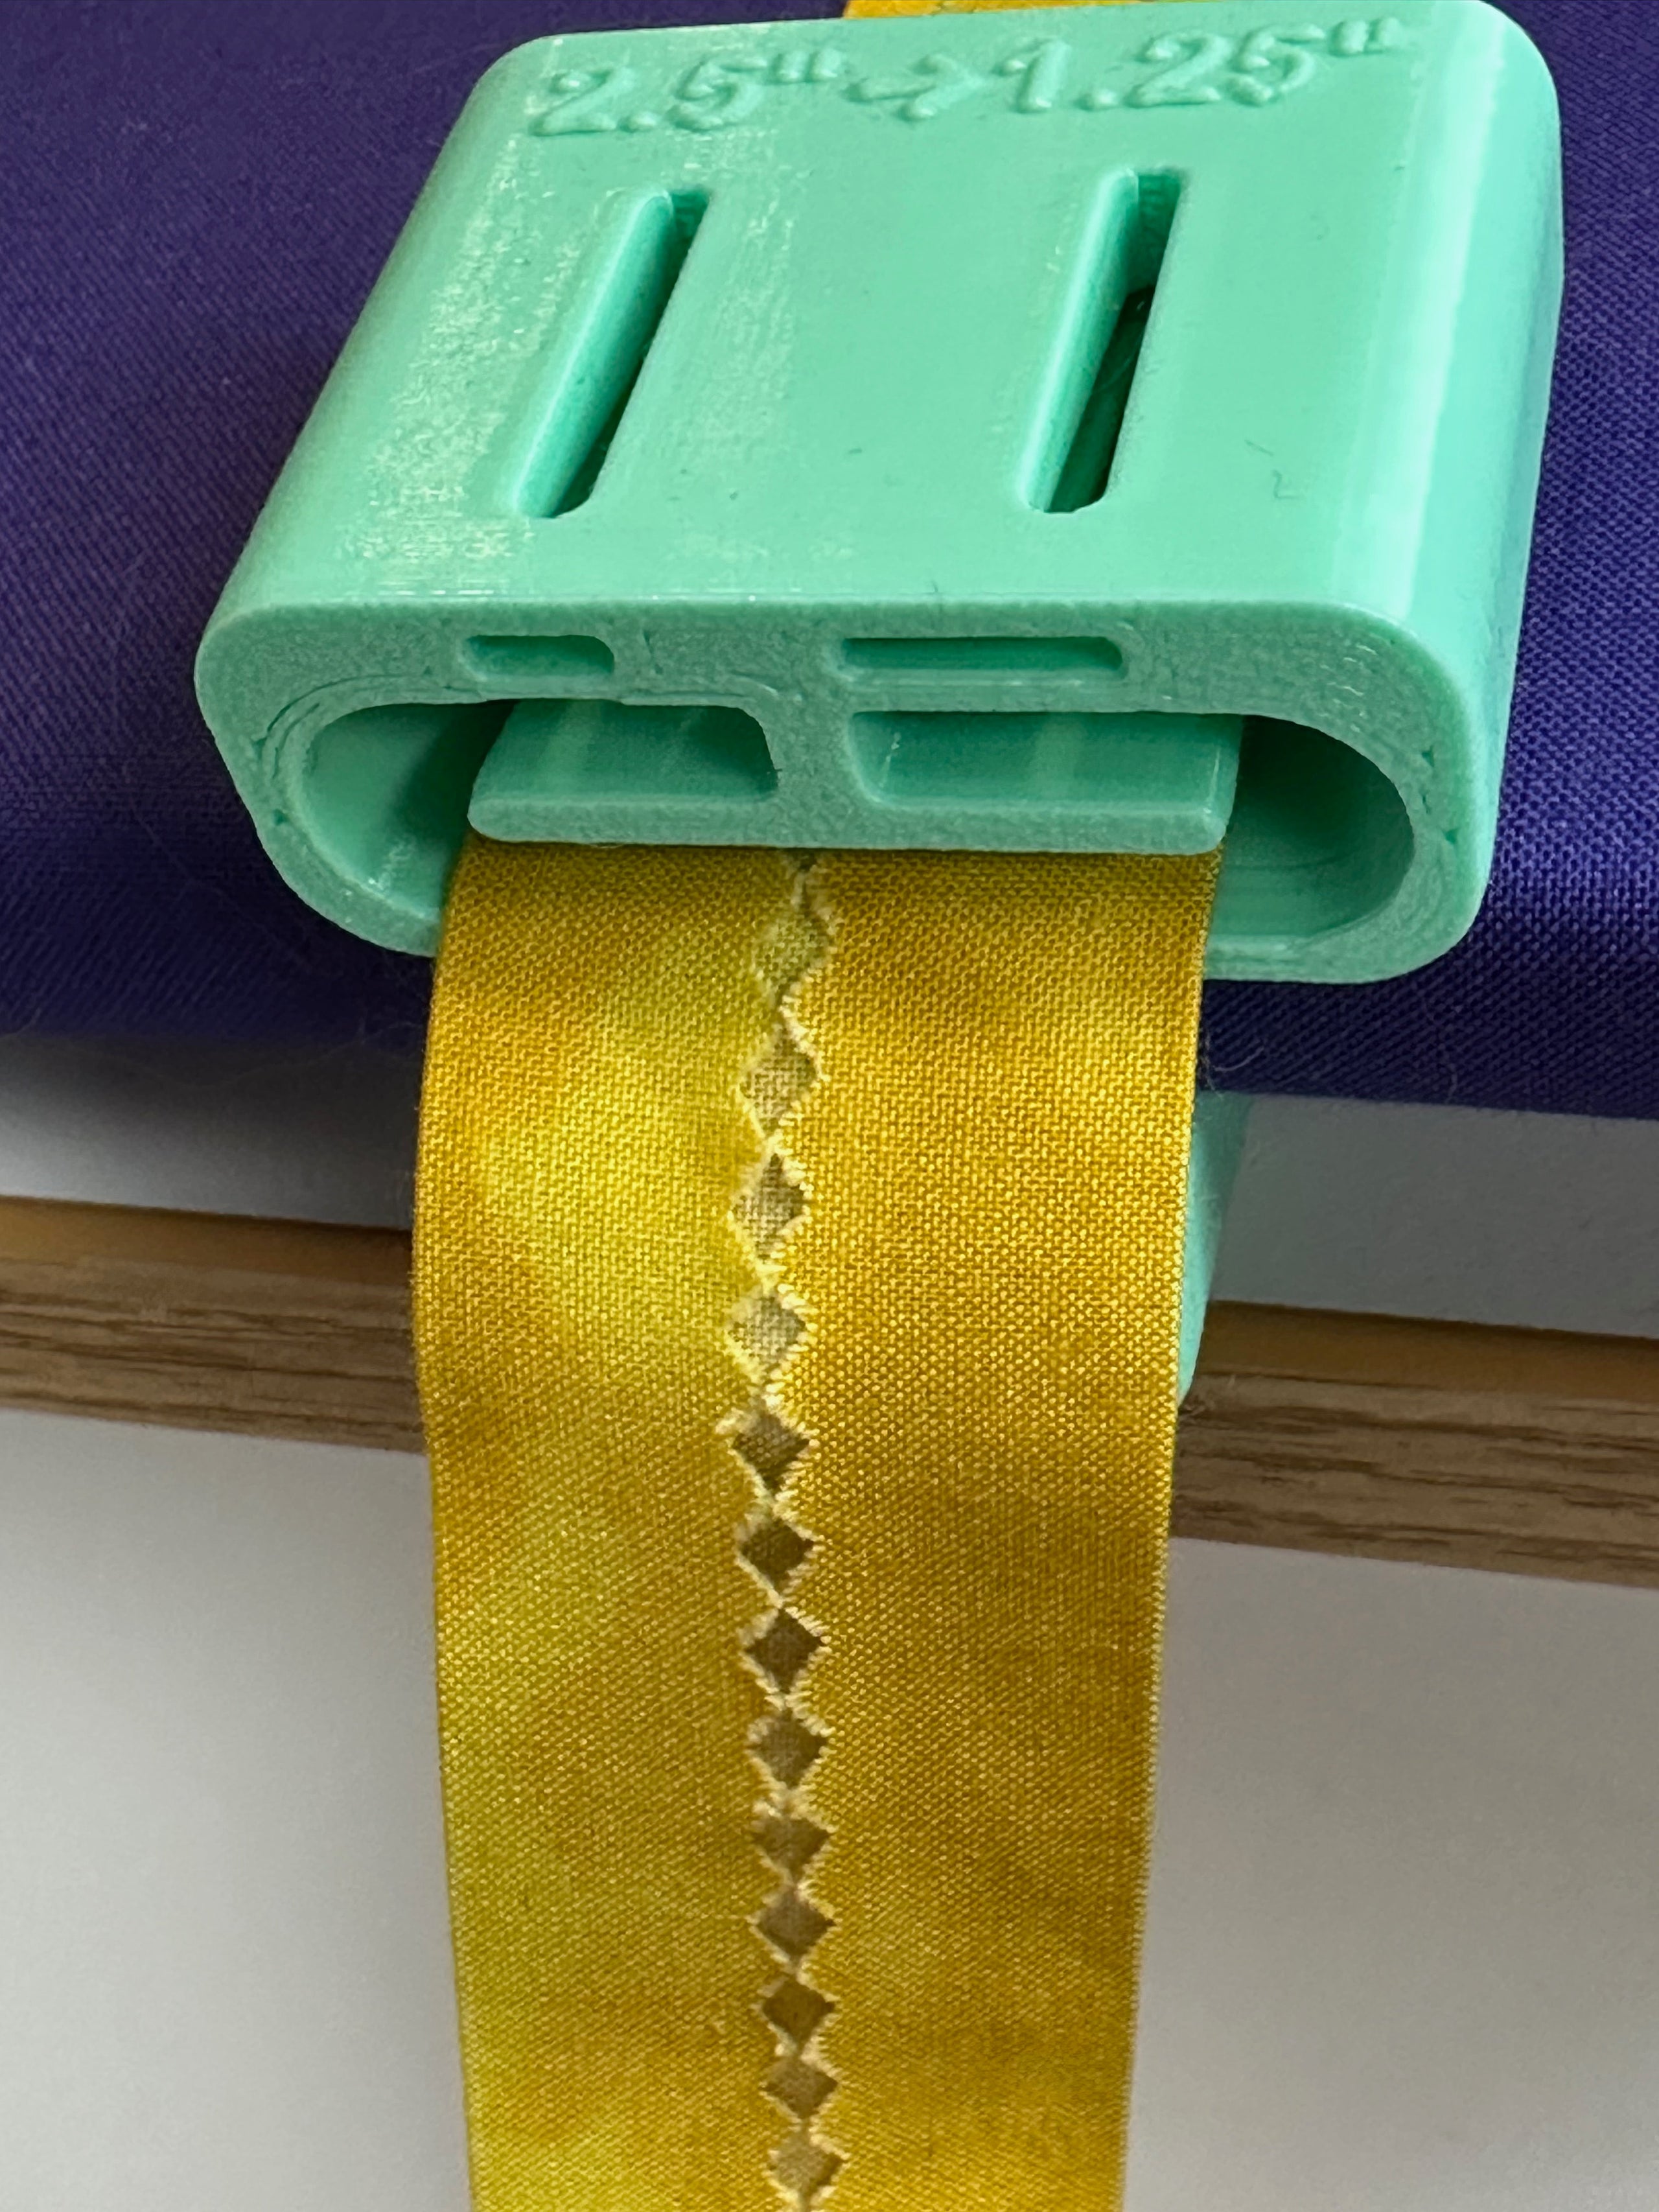
If you have a 2.5" or larger Bias Clamp then you can use either 5mm fusible web strips or 10mm fusible web strips as shown below:
If you have a 2.5" or larger Bias Clamp then you can use either 5mm fusible web strips or 10mm fusible web strips as shown below:
|
|
|
If you want to make curved strips, then cut the fabric strips at a 45 degree angle. If you are making straight strips, then you can use width of fabric (WOF) strips.
To attach the fusible web, reload the folded fabric (raw edges facing up) and load the tape through the slots on top. When pressing the fusible tape, hold the iron in place long enough for the tape to fuse before pulling more out. If the paper "bubbles up" then you probably need to hold the iron in place a little longer. |
|
Designed by Purple Hobbies LLC and 3D printed in California.